Computer power supply
Jamma Harness
Red momentary pushbutton
15 pin joystick extension cables
XNeo-1 RGB-> NTSC encoder
Particleboard
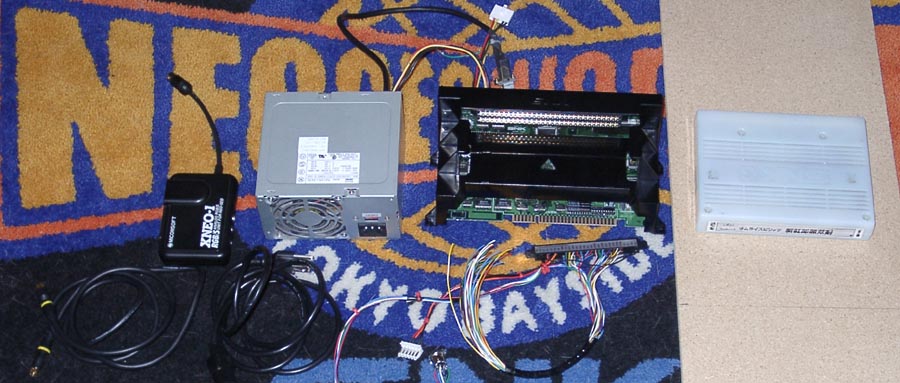
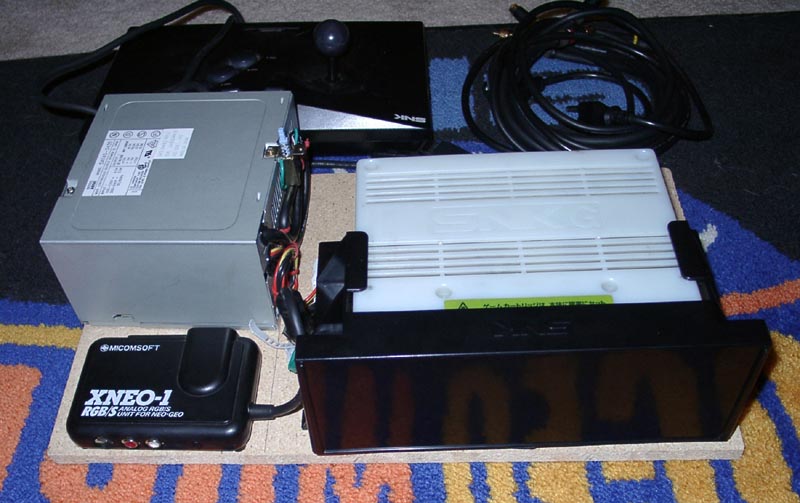
Below is a picture of the parts I used, along with an MVS test cartridge(on on the wood)
Home MVS
game station
This will give you an idea on how these items are constructed
First of all you need to gather the proper PARTS. For the unit I built for this article, the parts list is as follows:
MVS-1B Neo Geo MVS Jamma board
Computer power supply
Jamma Harness
Red momentary pushbutton
15 pin joystick extension cables
XNeo-1 RGB-> NTSC encoder
Particleboard
Below is a picture of the parts I used, along with an MVS test cartridge(on on
the wood)
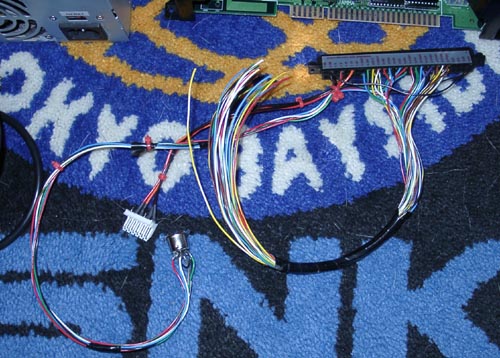
The biggest pain of the project is wiring the JAMMA harness. it can be
tedious work, because there are
many connections to be made. Below is a
picture of the JAMMA harness with power connectors and A/V
connector
wired. I chose a connector that would mate to one of the power supplies
connectors that I had
on hand. Any connector that can get you +5v, +12v,
and Ground from the power supply will do. I also
chose the 8-pin female
din for the AV because the XNEO-1 is designed to plug directly into the back of
the Neo Geo AES system. Using this connector the XNEO-1 will plug in with
no additional wiring.
This is a picture of the front of the pretty much completed
unit. Everything is on the particleboard and
somewhat tied down. The joystick connectors are wired in, and the test button is connected (the red
button). This is pretty much just a question of connect the dots wiring
wise. There are many great faqs
on this all over the net. I always
use the Neo Geo joystick pinouts so I can plug my AES controller into
the
unit. Sorry for the blurry pic, I didnt realize it until after I had put
everything away.
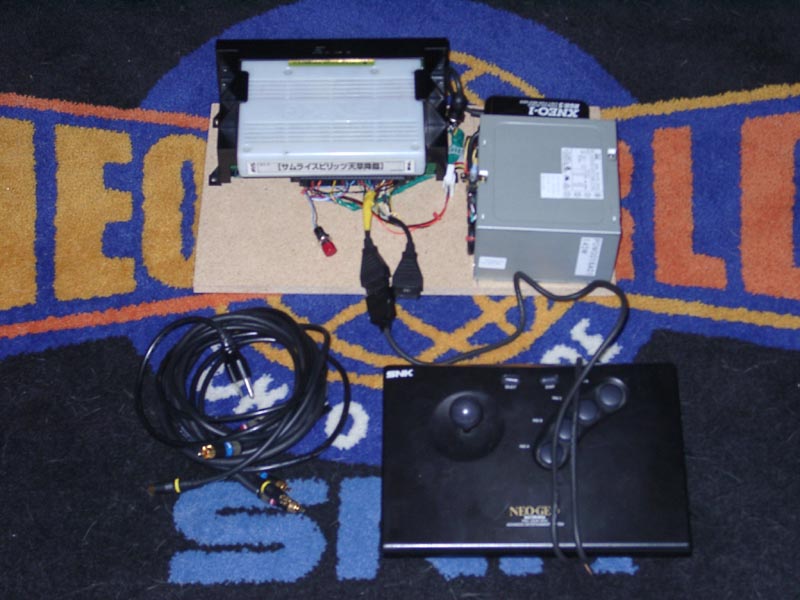
Back of the unit, showing the A/V outputs. Note, this rig is Svideo out only, which suits me just fine!
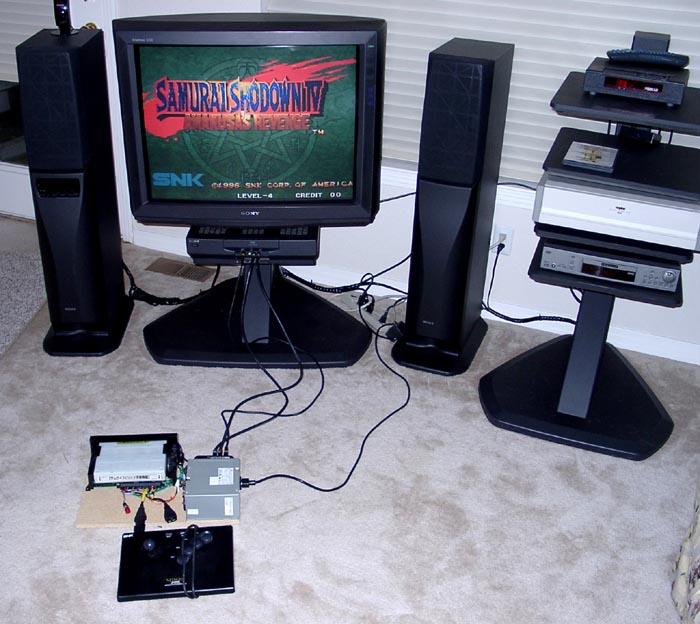
Finally, the unit in action. You can see by the pic that
its not much bigger than an AES controller. This
is the most compact unit I have built, and in reality it could still be almost 50% smaller with a different
power supply and tighter wiring.